
Acoustic wall panels and acoustic suspended ceiling tiles are excellent for enhancing sound quality in homes, studios, and offices. They absorb sound while adding a touch of style into the area. This article will walk you through six simple steps on how to fit acoustic wall panels. You can also learn some tips to ensure a smooth process and polished appearance.
How to Fit Acoustic Wall Panels?
Acoustic wall panels can greatly improve the sound quality in your room. Here’s a step-by-step guide to help you fit them right:
Step 1: Prepare the tools
First, gather the following tools and materials:
Measuring tape
Sandpaper
Masking tape
Pencil
Hand drill
Handsaw
Adhesive
Glue gun
Screws
Step 2: Prepare the wall
The wall should be clean to ensure the adhesive’s strength. So, remove any dust, grease, and dirt there. You can use a damp cloth if necessary. Remember to wait until the wall is fully dry before proceeding.
Also, remove nails and screws from the wall’s surface to avoid bumps under the panels. If you plan to drill and insert screws, you need to mark hidden electrical wires and pipes so you won’t drill into them.
After that, apply masking tape over all the cut lines to minimize chipping while cutting the panels. Always use sharp blades for cutting, as they provide cleaner edges.
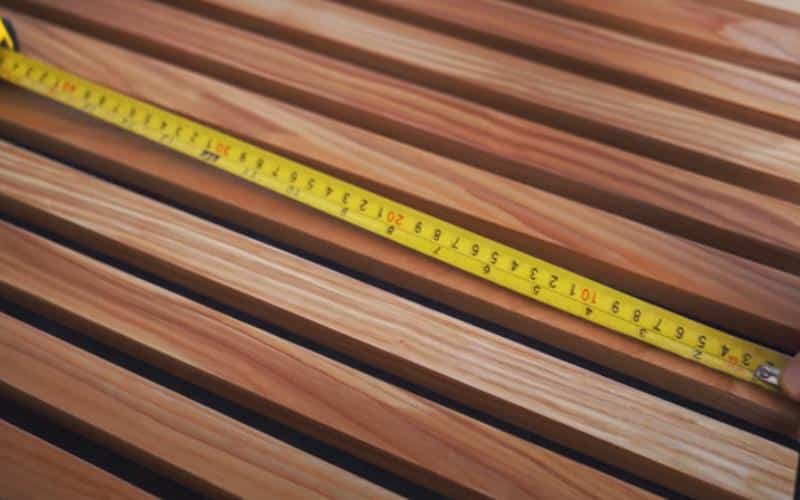
Step 3: Measure and cut the panels
You need careful measurement for a seamless installation. In this step, measure the width and height of your wall with a measuring tape. Remember to take note of any areas that may require custom panel sizes, like corners. If you’re working with real wood beadboard, precise measurements are even more crucial to ensure a perfect fit and a polished finish.
After measuring, mark the cutting lines directly onto each panel with a pencil. This tip ensures they are straight and accurate. If you need cleaner cuts, apply masking tape along the marked lines.
Now, you’ve got the measurements. For cutting, use a saw to carefully and slowly work along the marked lines. Try to follow the lines as closely as possible.
Then, use sandpaper to sand down the edges until they are smooth. This step sounds simple, but don’t skip it! The sandpaper helps prevent rough edges and create a polished look.
Measure the panels
Step 4: Install the panels
You can install acoustic wall panels in two ways: using adhesive or screws. The best one depends on the type of panel and wall material.
Using adhesive
You need to snip the top off the glue tube and insert it into your glue gun. Then, apply the adhesive evenly across the backing of the panel to ensure a firm grip.
Once the adhesive is ready, align the panel against the wall in the marked area. Press firmly across the entire surface to help spread the adhesive evenly and make sure the panel sticks well.
Hold the panel in place for 20 to 30 seconds for the adhesive to set. You also need to check that each panel is straight and make adjustments if necessary. Then, repeat the steps to apply the next panels.
If the panels seem to pull away from the wall, add more glue so it stays securely in place. A lack of adhesive may result in weak bonding. Ultimately, your panels will fall before fully setting.

Use glue to attach the panels
Using screws
You can also use screws to mount the panel. Acoustic panels often have a felt backing and a slat grid side designed to fit snugly against one another. When installing multiple panels, press each of them together so the felt side aligns with the grid side of the previous panel.
To start screwing, hold the panel in place on the wall and align it carefully. Then, secure it by screwing drywall screws through the backing and into the wall. We highly recommend using about 15 screws per panel. As you screw, ensure that you space the screw evenly across the surface.
Also, leave a gap of about 13mm between slats at the joints to maintain proper spacing. You can use a batten from a color sample as a spacer between the panels. This tip helps achieve consistent gaps.

Use screws to attach the panels
Step 5: Check the spacing and alignment
Use a spirit level to check each panel’s alignment as you attach it to the wall. The panels should be level vertically and horizontally.
Consistent spacing is important, too. You can use a measuring tape to ensure equal speaking across each panel. Adjust any panel immediately before moving to the next panel if it seems out of line.
Step 6: Clean the wall
Finally, clean up any excess adhesive around the edges. Do it while it’s still wet, as it will be much easier to remove now than once it’s dry.
After cleaning the edges, allow the glue to dry fully. Avoid touching or applying pressure to the panels during this curing period.
If you use screws to install the panels, particles may accumulate from drilling into the wall. Hence, you need to wipe away any dust or debris in this cleaning step.
Tips for Installing Acoustic Wall Panels
You can easily install acoustic wall panels in a few steps. If you want to maximize their effectiveness, check out the tips below:
Leave space for air gap: An air gap between the panels and the wall can increase sound absorption. However, if it’s larger than the thickness of the panels, you will encounter uneven acoustic performance. So, aim for a balanced gap.
Consider the overall design: Acoustic panels come in various styles, textures, and colors. The wide variety allows you to choose the one that fits your room’s aesthetics the most.
Check the reflection points: Reflection points are areas on your wall that bounce the sound back into the room. Before installing the panels, you need to check these points to identify the best places to position them.

Tips for the best outcomes
Upgrade Your Home Walls with Acoustic Wall Panels
By following the steps on how to fit acoustic wall panels, you can upgrade your space’s look and enhance its ambiance. You just need to prepare your wall, measure and cut the panels, install them, and clean the wall after working. With the newly installed panels, you can enjoy a more comfortable environment.