
Transforming a section of your yard into a putting green can add an exciting and functional element to your outdoor space. At LawnPop®, we specialize in creating high-quality artificial grass putting green austin tx that offer the look, feel, and performance of professional courses. Here’s a step-by-step guide on how we design and install artificial grass putting greens, ensuring you can practice your golf game any time you desire.
Step 1: Designing Your Putting Green
Planning the Layout:
First, consider how much space you can dedicate to the green. We recommend a minimum of 300 square feet to allow for a versatile design. Think about the number of holes you want and any specific contours that mimic your favorite golf course challenges.
Choosing the Right Turf:
Not all artificial turf is suitable for putting greens. LawnPop® offers specific turf types designed for golf, featuring shorter blades and denser construction to support a smooth ball roll and realistic golfing experience.
Step 2: Preparing the Base
Excavation and Framing:
Remove about 4-8 inches of soil where your green will be installed. Frame the perimeter with flexible bender boards, which help maintain the green’s shape and boundary.
Base Material:
Lay a base of crushed stone or gravel and compact it firmly. This layer is crucial for proper drainage and provides a stable foundation that supports the turf and maintains its even surface.
Adding Contours:
If you want slopes or banks, shape these with the base material. Contours add difficulty and interest to your putting green, making practice sessions more engaging and beneficial.
Step 3: Installing the Turf
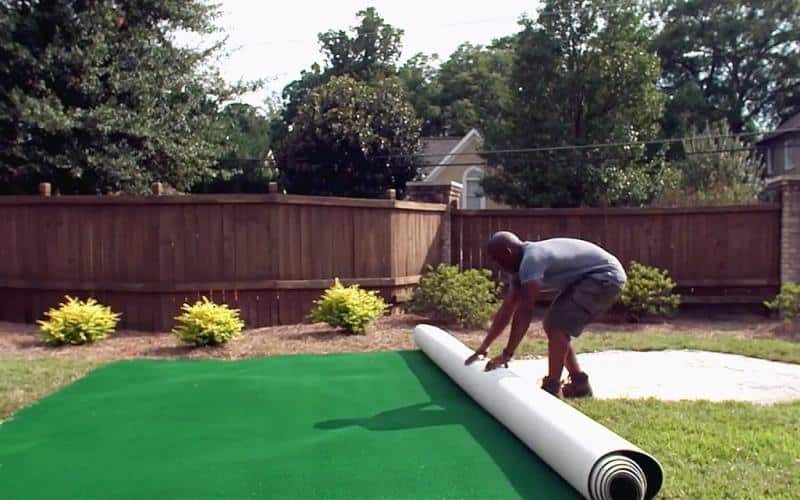
Laying the Turf:
Roll out the turf over the prepared base, ensuring it’s smooth and tightly fitted against the frame. Trim any excess material along the edges.
Securing the Turf:
Secure the turf around the edges with nails or staples, spaced every few inches. It’s crucial that the turf does not shift or wrinkle, as this will affect the playability of the green.
Seaming:
If your putting green is wider than the turf roll, you’ll need to seam multiple pieces together. Use seaming tape and adhesive to connect the pieces, making sure no gaps or overlaps occur.
Step 4: Adding Infill and Final Touches
Applying Infill:
Spread fine-grained sand infill across the turf. This helps weigh down the turf, keeping it flat and stable. It also supports the fibers, helping them stand upright and providing a smooth surface for the golf balls to roll on.
Brushing:
Use a power broom to work the sand down into the base of the turf. This process should be thorough to ensure even distribution and optimum surface smoothness.
Installing the Cups:
Cut out holes for the golf cups. Install each cup by securing it below the turf level. Make sure each is firmly in place to avoid shifting during play.
Step 5: Maintenance and Care
Regular Cleaning:
Keep your green free of debris with regular brushing and occasional rinsing. This maintains the integrity of the surface and ensures consistent ball roll.
Infill Replenishment:
Check the level of sand infill periodically and replenish as needed to keep the putting surface in top condition.
Conclusion
Creating a professional-quality artificial grass putting green requires meticulous planning, precise installation, and regular maintenance. By following these steps, you can enjoy a beautiful and functional putting green that enhances your landscape and your golf game.